Got Milk
You’re lazy, you don’t want to walk all the way to the kitchen to find there’s no milk, right? Well, with this Talis hardware hack, you don’t have to…
Hardware hack day
We last organised a hack day last year where the ideas submitted where predominantly related to software projects. This was awesome fun and we’ve published articles about our adventures before: Hackday: Never Lunch Solo, but this time we wanted to actually build physical things.
The thing about hacking with hardware - things you can hold and modify in some way - is that it’s more inclusive for other non-technical colleagues (which makes it fun for people who can code and those who can’t).
Got Milk
Talis staff from all over the company submitted ideas for the hardware hack day and you’ll find posts about those elsewhere on the engineering blog, but the project I worked on was called “Got Milk”.
The Problem
The idea was to solve a problem as old as time itself: laziness. Well, okay, not ALL laziness but more specifically the bit of it that involves making tea/coffee.
I think we’ve all been there: you’ve just lined up a load of cups, put in the tea-bag/coffee/sugar, added the hot water and then you go to open the fridge door and … BOOM, no milk.

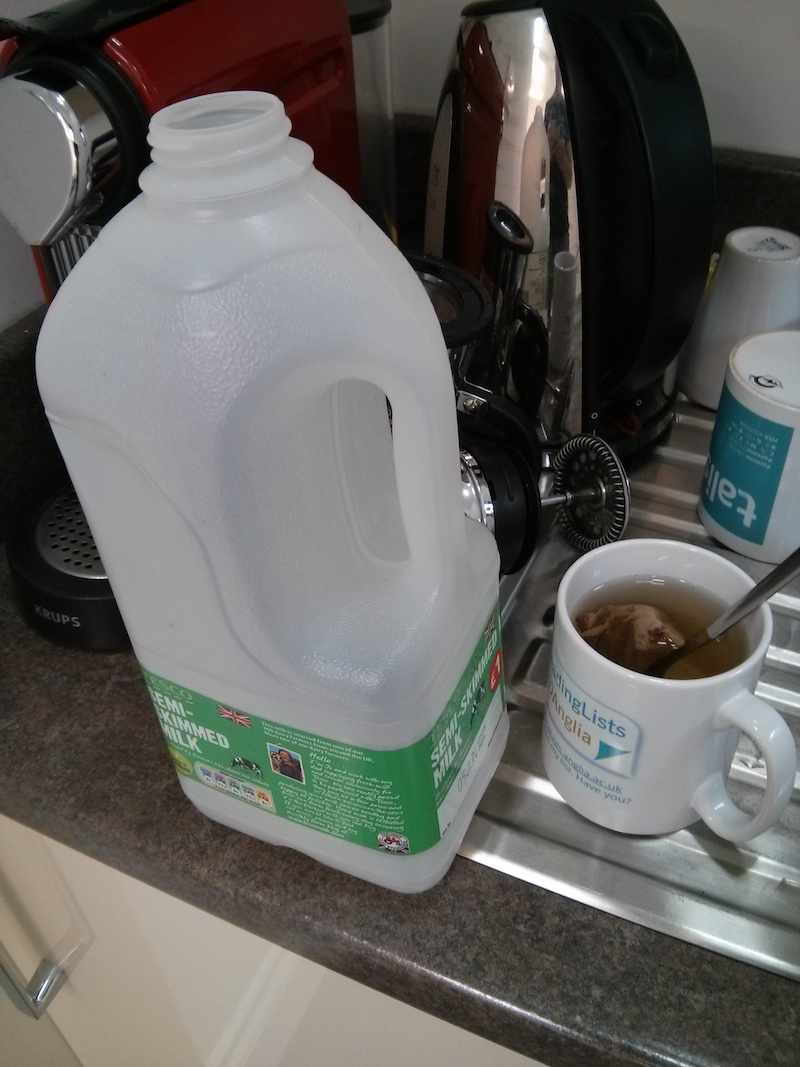
Sadness ensues, the sky goes grey, you cry uncontrollably (well, maybe just a couple of those things happen) and then you put on your coat and trudge to the shop to buy more flippin’ milk.
The Solution
We decided the solution was to put a sensor in the fridge that could tell how much milk was left and then broadcast this status to somewhere that people could see.
The Team
We were a mixed bunch:
- Me - Russ Hill (Developer) : AKA ‘The Bodger’
- Zena (Customer Support Team) : AKA ‘Mrs Glue Gun’
- Keji (Product Manager) : AKA ‘The Guvnor’
- Arunn (Product Manager) : AKA ‘Captain Soldering Iron’
…and we had mixed abilities/experience when it came to messing with hardware or DIY, but we had enthusiasm (and a hot glue gun!).
Note a virtual high-five to our other helpful teammates:
- Mark (Developer) : AKA ‘The snake-charmer’
- Nad (Developer) : AKA ‘The Architect‘
The Hardware
Here’s a list of the hardware we used:
- Raspberry Pi (already had this)
- Bread Board
- Force sensitive resistor
- Analog to digital converter (MCP3008)
- 10k resistor
- Jumper cables (for the bread board)
- Jumper cables (for the Pi)
- Screw terminal
- Wire (already had this)
- Solder (already had this)
- Various bits of plastic/tape etc
Bread board circuit
So, the Force sensitive resistor would be the thing that measures the pressure of a milk carton - it’s sensitive enough to measure minor variances in pressure too, though we ended up setting the software we wrote to monitor for “ranges” of values we received from it. The bread board, analog to digital converter, 10k resistor and jumper wire all formed part of the circuit with the force sensitive resistor. The screw terminal was used to connect the force sensitive resistor to some longer wires (soldering directly to it was deemed too dangerous to the future operation of the resistor!).
Note the analog to digital converter is required because the Pi can only measure digital values natively, unlike an Arduino which is happy playing around with analog signals. For more information on this, I found out an awful lot of what was needed for this project from here: Analogue Sensors on the Raspberry Pi.
You can just about see the bread board with the components arranged on it in this photo:
(don’t ask what the toilet paper was for, I can’t honestly remember!)
Tip keep a tidy workspace - unlike us ;-)
Here’s the circuit Zena created using the bread board and the other components:

Zena got creative with her wiring as the bread board we got only had one power input each side, not two as in the diagram, so she used one side of the board as +ve and the other as -ve … nice!
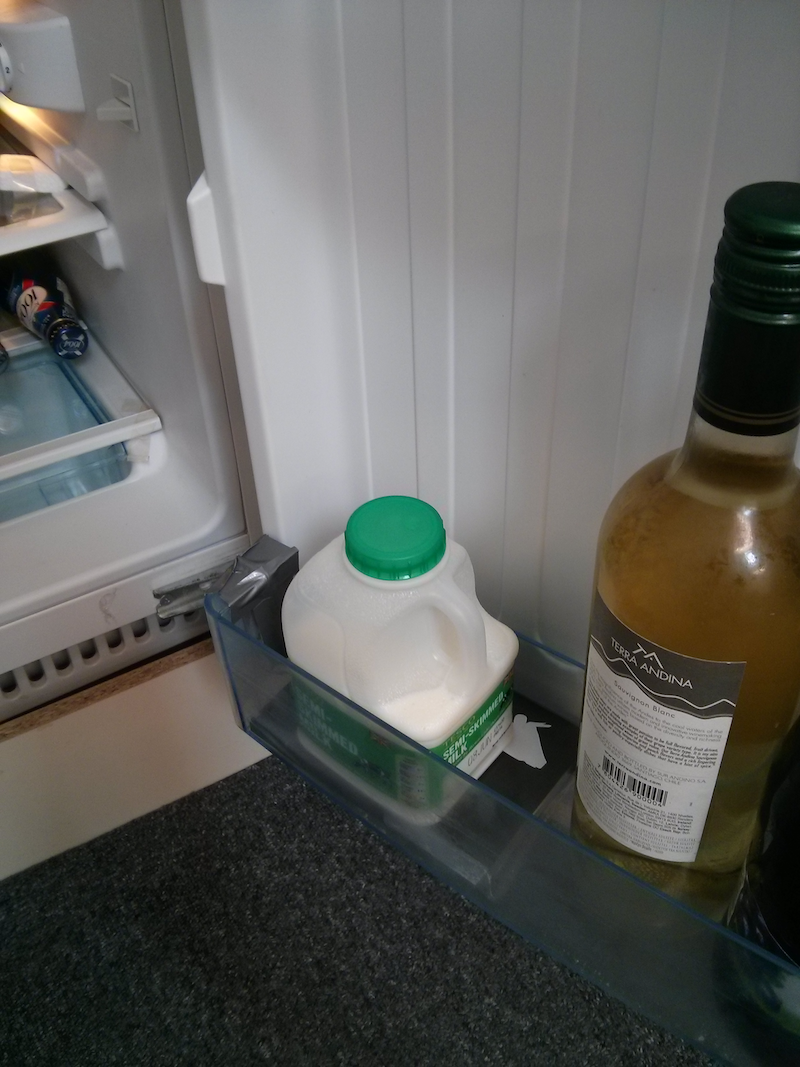
Note we didn’t actually directly mount the force sensitive resistor on the board as shown, we extended the wires connected to it in order to be able to place the milk sensing pad in the fridge and the circuit board and Pi underneath the fridge out of the way (and not too cold).
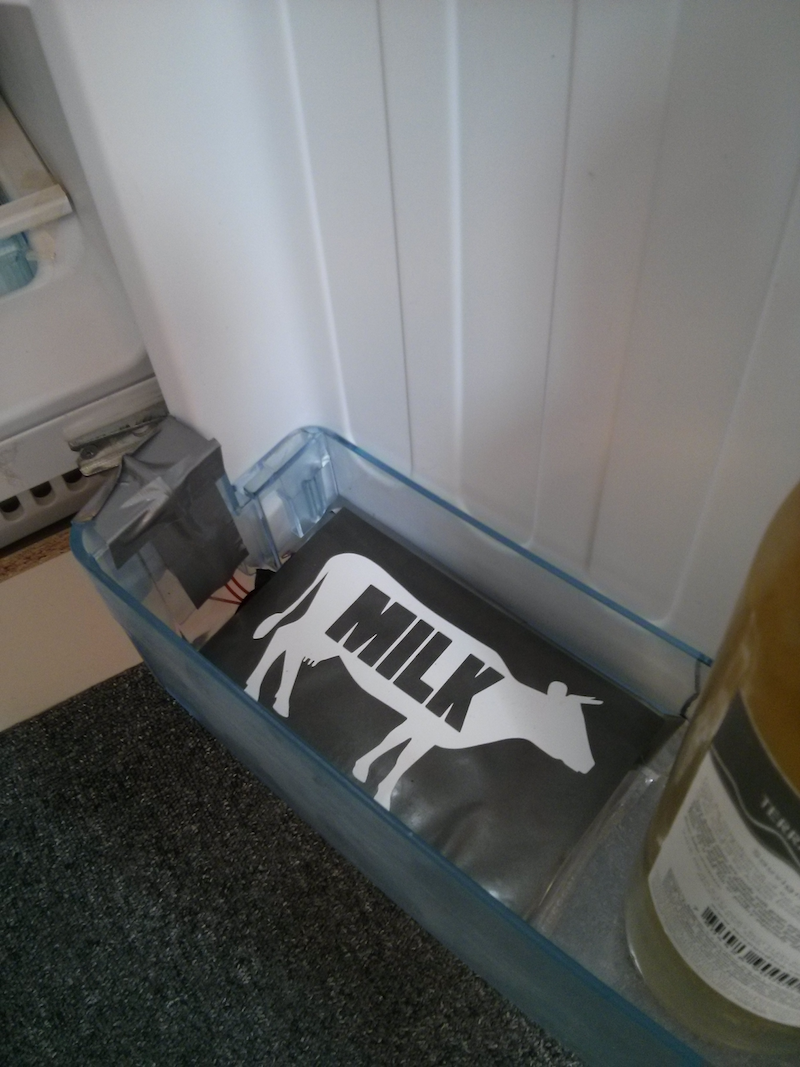
Sensor pad
The force sensitive resistor is only about 2in x 2in square, too small to act as an effective area to place a milk container on, so we opted to make a housing for this that would attempt to take the load across a larger area and apply it to the pad.
You can see how we started out with this idea below:
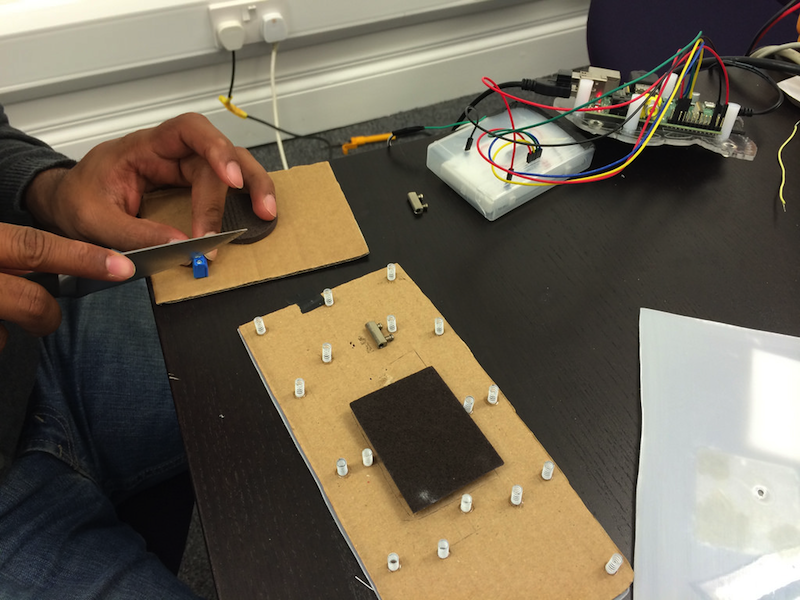
We got creative with a load of old Talis pens, taking the springs out, cutting them down to size and gluing them to a base - in this case, cardboard. You can see a sheet of plastic to the right of the picture: this was later to be used to replace the cardboard and make things more robust. We used another similar piece for the top - creating a “sandwich” with the springs and force sensitive resistor as the filling!
Note the plastic for the sensor sandwich was actually the plastic box that the electrical components we ordered came in - thanks to the online shop that we bought those from.
In the picture below you can see Arunn putting the finishing touches to the “final” plastic base by gluing the springs to that instead - Zena had already transferred the majority of the springs from the cardboard prototype by this time:
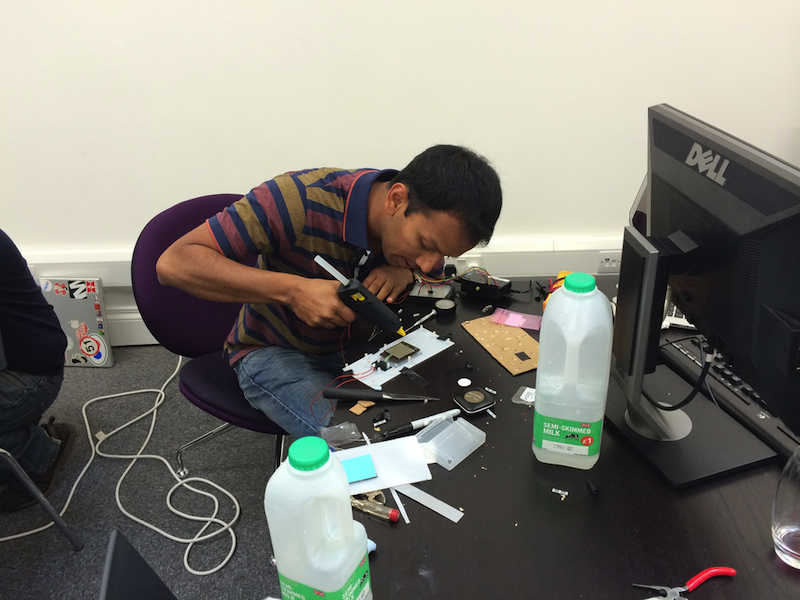
(note the plastic milk bottles we used for testing!)
Software
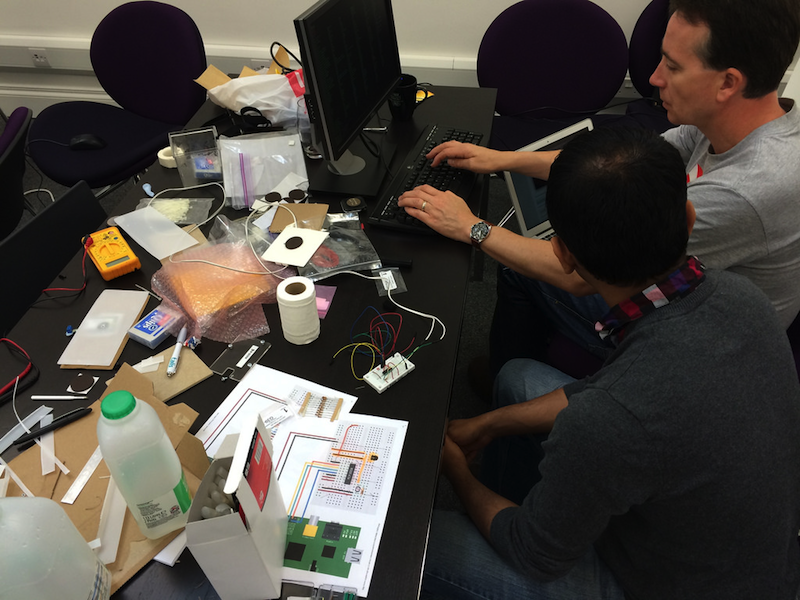
Once the bread board and sensor where complete and connected up, we attached everything to the Pi as per the circuit diagram above, crossed our fingers and powered it up.
The Pi was running a fresh install of Raspbian on a 4GB SD card. After installing some software packages and writing a small Python script it was time to run the code. To our (or rather my surprise) we got data from the sensor pad immediately!
The rest was just “tuning” - we placed various sized milk bottles with varying amounts of water (to simulate milk) on the pad and read the values from the Python script. We adjusted the script to look for specific ranges and then post a message into a HipChat room.

The full Python script is below - note we created a config file to allow us to tune things if we wanted (like the delay to wait) and to store the API tokens and so on:
#!/usr/bin/python
#--------------------------------------
# This script reads data from a
# MCP3008 ADC device using the SPI bus.
#
# Author : Russ Hill (based on code by Matt Hawkins)
# Date   : 28/05/2014
#
# Ref :
#
# http://www.raspberrypi-spy.co.uk/
#
#--------------------------------------

import spidev
import time
import os, os.path
import requests
import ConfigParser
import urllib2
import subprocess

config = ConfigParser.ConfigParser()
config.read([os.path.expanduser("~/gotmilk/.gotmilk"), '/etc/gotmilk'])

AUTH_TOKEN = config.get('HipChat', 'token')
HIPCHAT_ROOM_ID = config.get('HipChat', 'roomid')
DELAY = config.getfloat('GotMilk', 'delay')

def internet_on():
    try:
        urllib2.urlopen('https://api.hipchat.com', timeout=1)
        return True
    except urllib2.URLError as err:
        return False

def get_ip():
    cmd = "ifconfig wlan0 | awk '/inet addr/ { print $2 } '"
    process = subprocess.Popen(cmd, shell=True, stdout=subprocess.PIPE)
    process.wait()
    return process.stdout.read().split(':')[1]

def send_message(message,color):
    # send a message via HipChat
    hipchat_url = "https://api.hipchat.com/v1/rooms/message?format=json&auth_token=" + AUTH_TOKEN

    payload = {
        'room_id':HIPCHAT_ROOM_ID,
        'from':'Milkmaid',
        'color':color,
        'notify':'true',
        'message':message
    }

    r = requests.post(hipchat_url, data=payload)

def wait_for_access():
    while (internet_on() == False):
        time.sleep(2)
    ip_address = get_ip()
    send_message('Your friendly Talis Milkmaid is up and monitoring on '+ ip_address+' (checking the fridge every '+str(DELAY)+' seconds)','gray')

wait_for_access()

# Open SPI bus
spi = spidev.SpiDev()
spi.open(0,0)

# Function to read SPI data from MCP3008 chip
# Channel must be an integer 0-7
def ReadChannel(channel):
  adc = spi.xfer2([1,(8+channel)<<4,0])
  data = ((adc[1]&3) << 8) + adc[2]
  return data

# Function to convert data to voltage level,
# rounded to specified number of decimal places.
def ConvertVolts(data,places):
  volts = (data * 3.3) / float(1023)
  volts = round(volts,places)
  return volts

# Define sensor channels
resistor_channel = 0

# Define previous resistor level
previous_resistor_level = 0
nothing_on_pad_count = 0
milk_gone_warning_shown = False
milk_low_warning_shown = False
milk_ok_warning_shown = False

while True:
    level_message = "Monitoring..."

    # Read the resistor data
    resistor_level = ReadChannel(resistor_channel)
    resistor_volts = ConvertVolts(resistor_level,2)

    if resistor_level != previous_resistor_level:
        if resistor_level > 900:
            # Nothing on the pad
            level_message = "Nothing on the pad"
            nothing_on_pad_count += 1
            if nothing_on_pad_count == 5:
                nothing_on_pad_count = 0
                level_message = "Milk has all gone (or been left out of the fridge!)"
                if milk_gone_warning_shown == False:
                    send_message(level_message,'red')
                    milk_gone_warning_shown = True
                    milk_ok_warning_shown = False
        elif 650 <= resistor_level <= 900:
            # Milk running low
            level_message = "Milk running low - please buy more"
            nothing_on_pad_count = 0
            if milk_low_warning_shown == False:
                send_message(level_message,'yellow')
                milk_low_warning_shown = True
                milk_ok_warning_shown = False
        elif 400 <= resistor_level <= 650:
            # Milk is healthy
            level_message = "Milk level currently okay"

            # See if we previous mentioned that the milk was low, if so, message that the milk is now okay (if we didn't do that already)
            if (milk_gone_warning_shown == True or milk_low_warning_shown == True):
                if milk_ok_warning_shown == False:
                    send_message(level_message,'green')
                    milk_ok_warning_shown = True

            # Reset flags
            milk_low_warning_shown = False
            milk_gone_warning_shown = False
            nothing_on_pad_count = 0
        else:
            # Loads of milk
            level_message = "Milk is plentiful!"

            # See if we previous mentioned that the milk was low, if so, message that the milk is now okay (if we didn't do that already)
            if (milk_gone_warning_shown == True or milk_low_warning_shown == True):
                if milk_ok_warning_shown == False:
                    send_message(level_message,'green')
                    milk_ok_warning_shown = True

            # Reset flags
            milk_low_warning_shown = False
            milk_gone_warning_shown = False
            nothing_on_pad_count = 0

    # Print out results
    print "--------------------------------------------"
    print("Pressure : {} ({}V)".format(resistor_level,resistor_volts))
    print level_message

    previous_resistor_level = resistor_level

    # Wait before repeating loop
    time.sleep(DELAY)
Note it was my first go with Python - you can tell can’t you?? Thanks to Mark for additional contributions…
See the Git repo for the code.
Finishing up
All that was left to do was install the sensor and tidy things away.
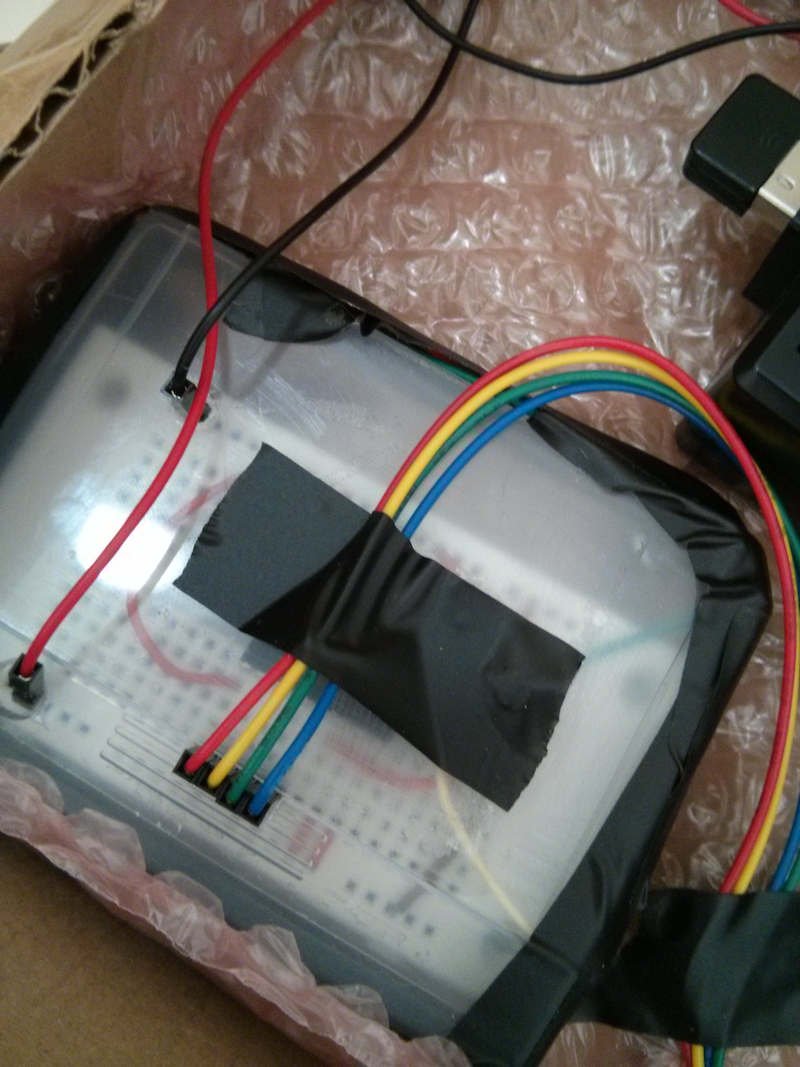
We made a box for the circuit board to prevent wires being knocked etc:
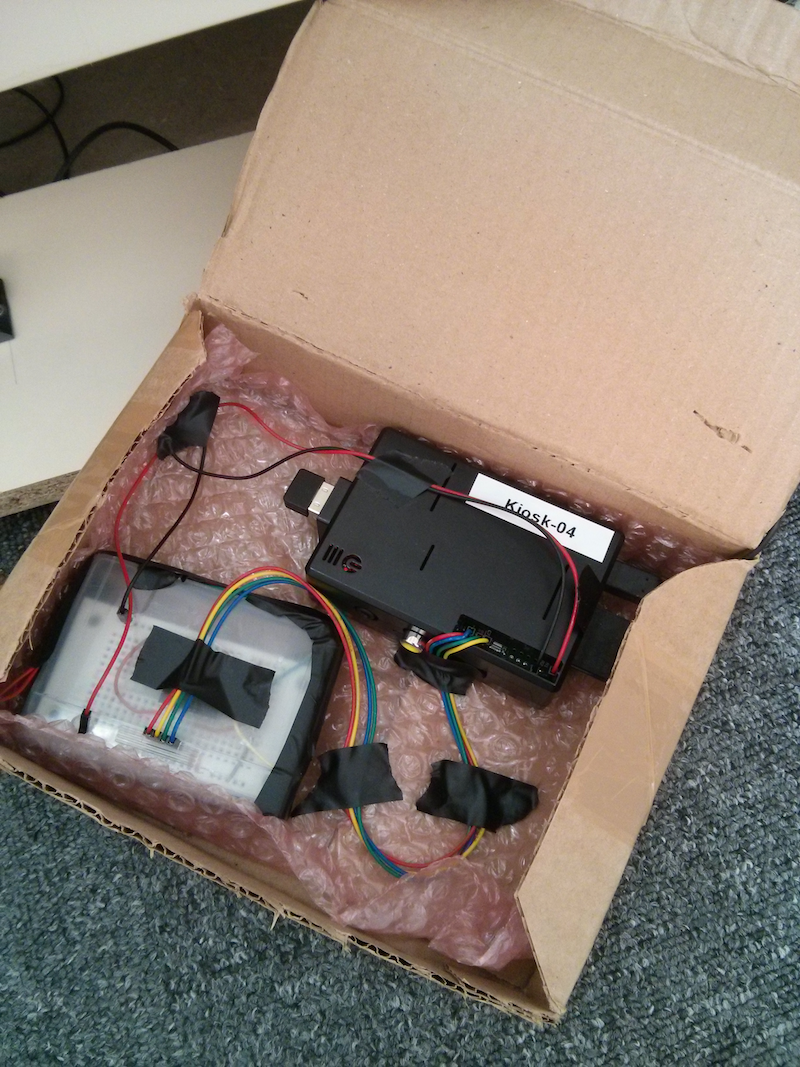
We then put everything in a box to keep it all safe:
…closed the lid:
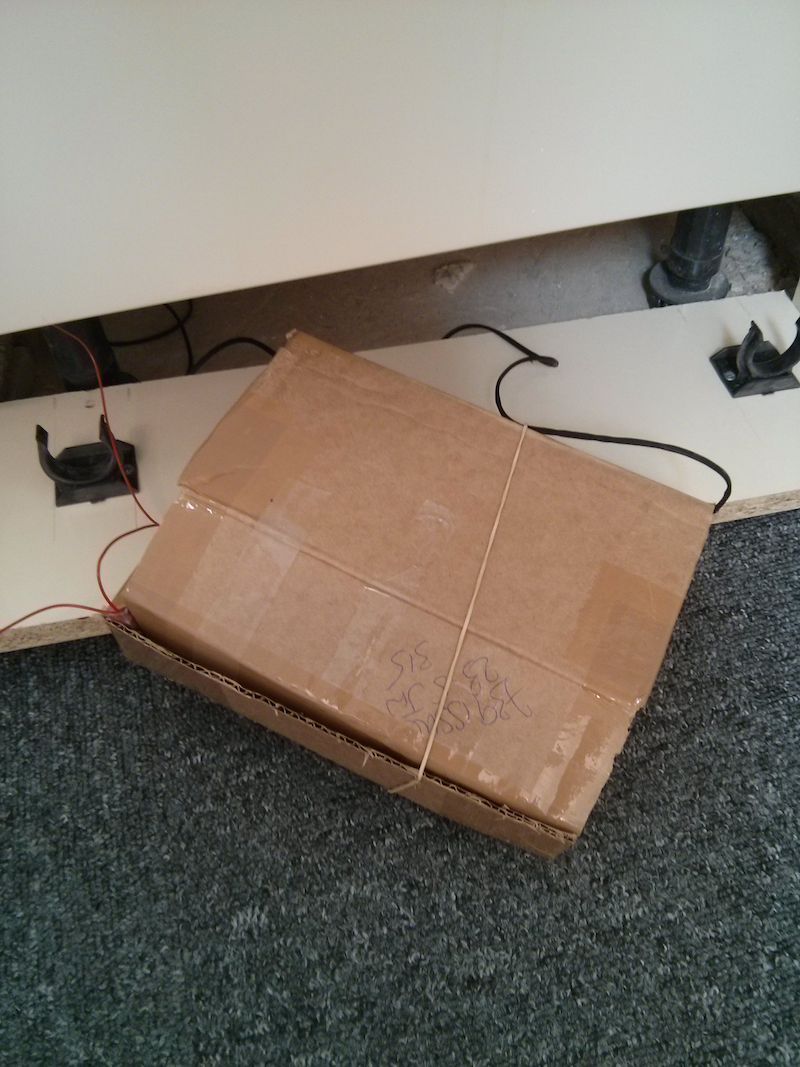
and stuffed it under the cupboard out of the way:
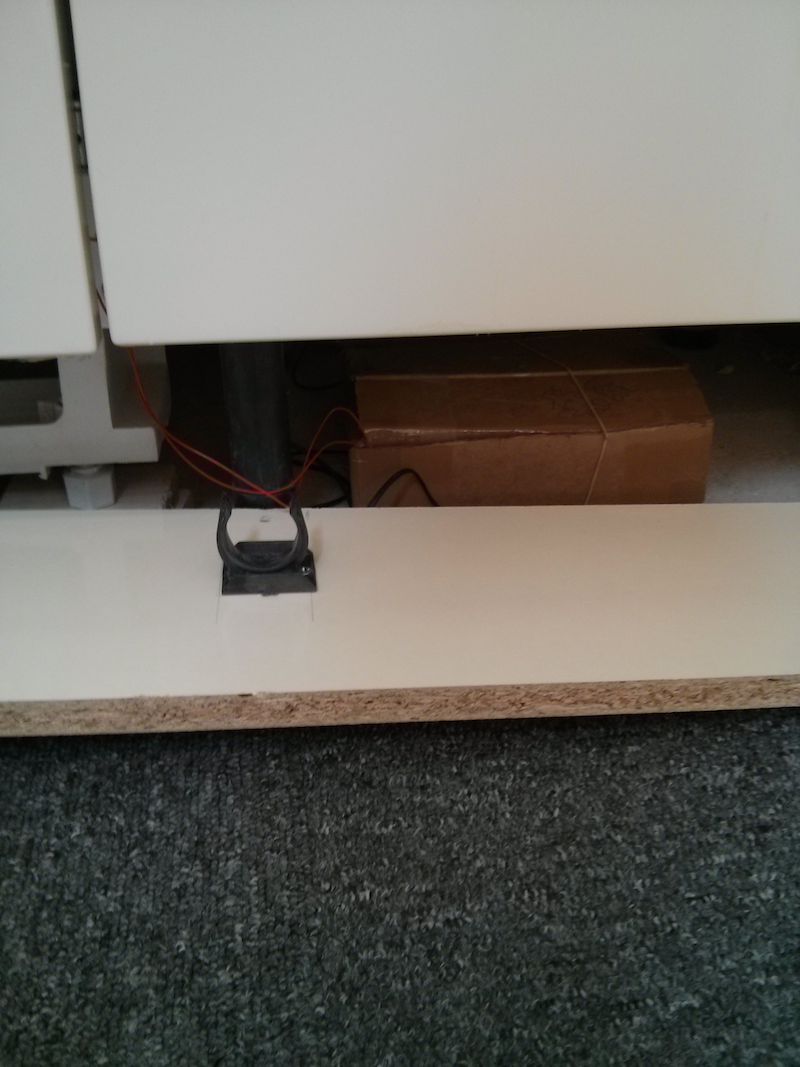
Now we just keep an eye on HipChat and can see at any time - by scrolling back in the chat history - what the last status of the milk was.
Laziness as they say, is the mother of all invention - or something like that.
Enjoy!